AI Tattoo Editor: How to Refine and Customize AI-Generated Designs
How an AI tattoo editor lets you refine a generated design after the first draft — adjusting style, color, linework, composition and size until the piece is actually yours.

The first design an AI generates is rarely the one you end up with — it is a starting point. An AI tattoo editor is what turns that starting point into something you would actually put on your skin: a way to adjust style, color, linework, composition, and size without throwing the whole design away and starting over on a blank prompt.
In short: an AI tattoo editor lets you refine an already-generated design instead of only regenerating from scratch. You change one specific thing — the style, the palette, the amount of detail, the size of an element — and the AI updates the design while keeping the parts that were already working. This guide covers how AI tattoo editing actually works, what you can and cannot change, and how to get from a rough first draft to a design you are confident bringing to an artist.
What Is an AI Tattoo Editor?
An AI tattoo editor is the layer of tools that comes after generation. Where a generator turns a text prompt or photo into a first design, an editor lets you go back into that design and change specific parts of it — swap the art style, shift the color palette, simplify overcrowded linework, or resize one element relative to another — without losing the composition you already liked.
That distinction matters more than it sounds. Most people do not get a perfect tattoo design on the first try, and rewriting an entire prompt from zero every time something is slightly off is slow and unpredictable — you might lose the pose or layout you liked along with the part you wanted to fix. Editing solves that by working incrementally. If you have already tried our text-to-tattoo generator or photo-to-tattoo generator to get a first design, an editor is the tool you reach for next.
How Does an AI Tattoo Editor Work?
Editing is a loop, not a single step. You are not trying to get everything perfect in one generation — you are narrowing in on a finished design a few adjustments at a time.
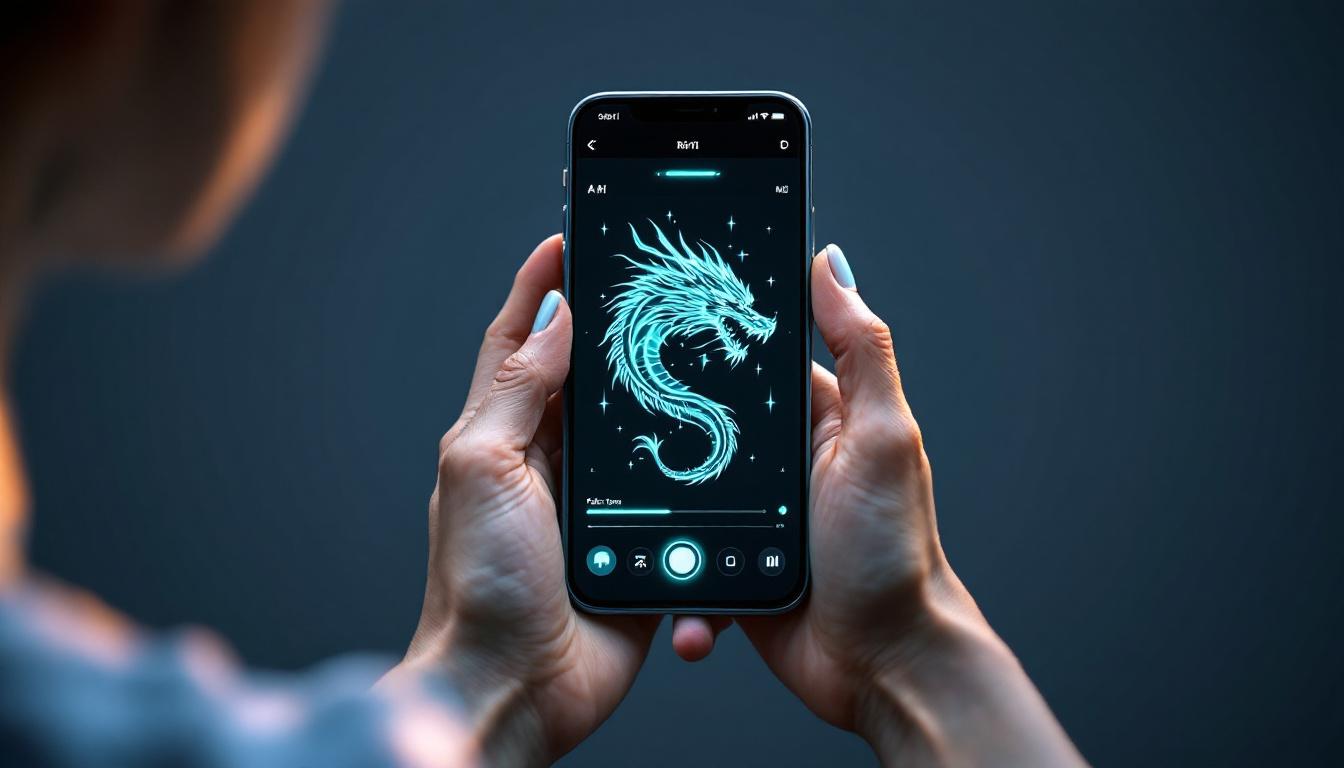
- Generate a starting design. Describe your idea or upload a reference photo. This first pass does not need to be right — it just needs to be close enough to build on.
- Identify what to change. Be specific: is the style wrong, is the color off, is the composition too busy, or is an element the wrong size for where you want to place it?
- Edit one element at a time. Adjust that single variable and regenerate. Changing several things at once makes it hard to tell which change actually helped.
- Compare versions. Keep the earlier draft visible next to the new one. If the edit made things worse, you still have the previous version to fall back to.
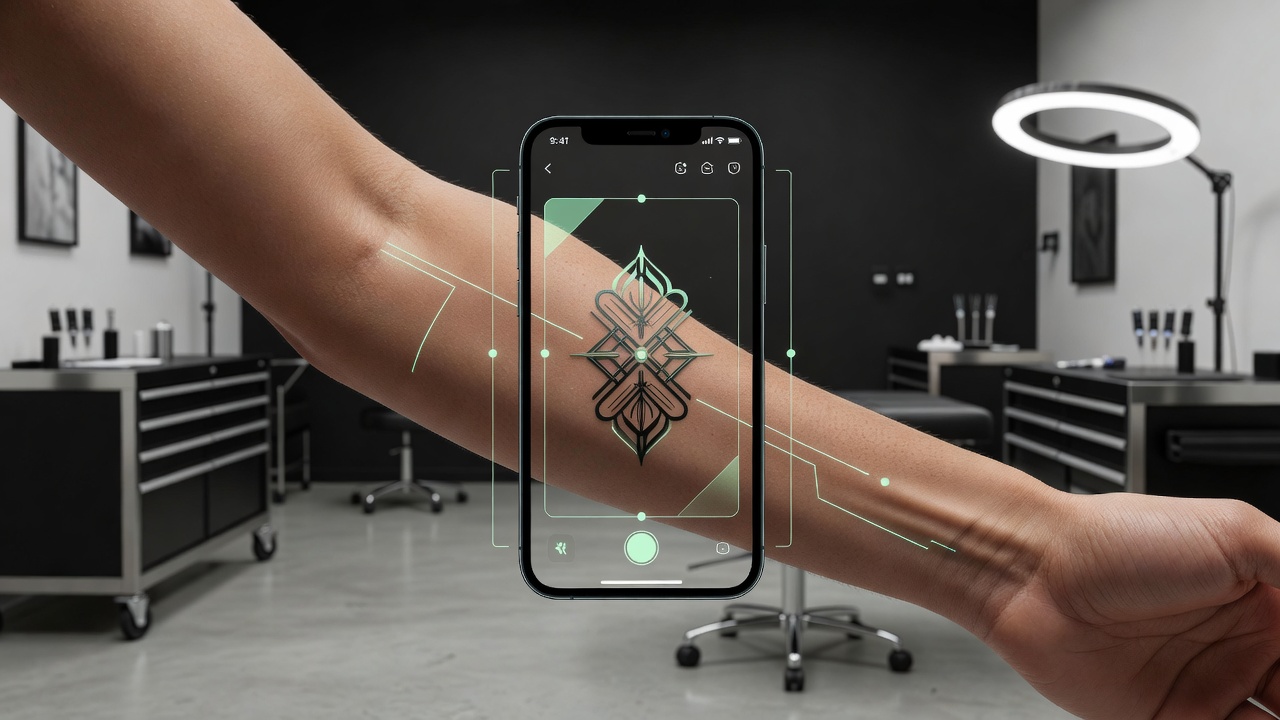
- Preview and export. Once the design holds up, use AR try-on to check it at real scale on your skin, then export a clean, high-resolution file for your artist.
Under the hood, this kind of targeted refinement is related to techniques like inpainting, where a model reworks part of an image while leaving the rest intact — which is why a good editor can change a tattoo's color without redrawing its entire composition from nothing.

What Can You Actually Edit?
Not every part of a design is equally easy to change, and knowing what to expect saves you frustration. Here is what typically responds well to editing.
Style and Line Weight
Style is usually the most dramatic and most reliable edit. A rose sketched in delicate fine-line can be pushed toward bold blackwork, soft watercolor, or traditional American style while keeping the same pose and layout. Line weight adjustments matter for more than looks, too — thicker strokes hold their shape in skin for decades, while extremely fine lines can blur as ink settles with age, so an editor is also where you future-proof a design.
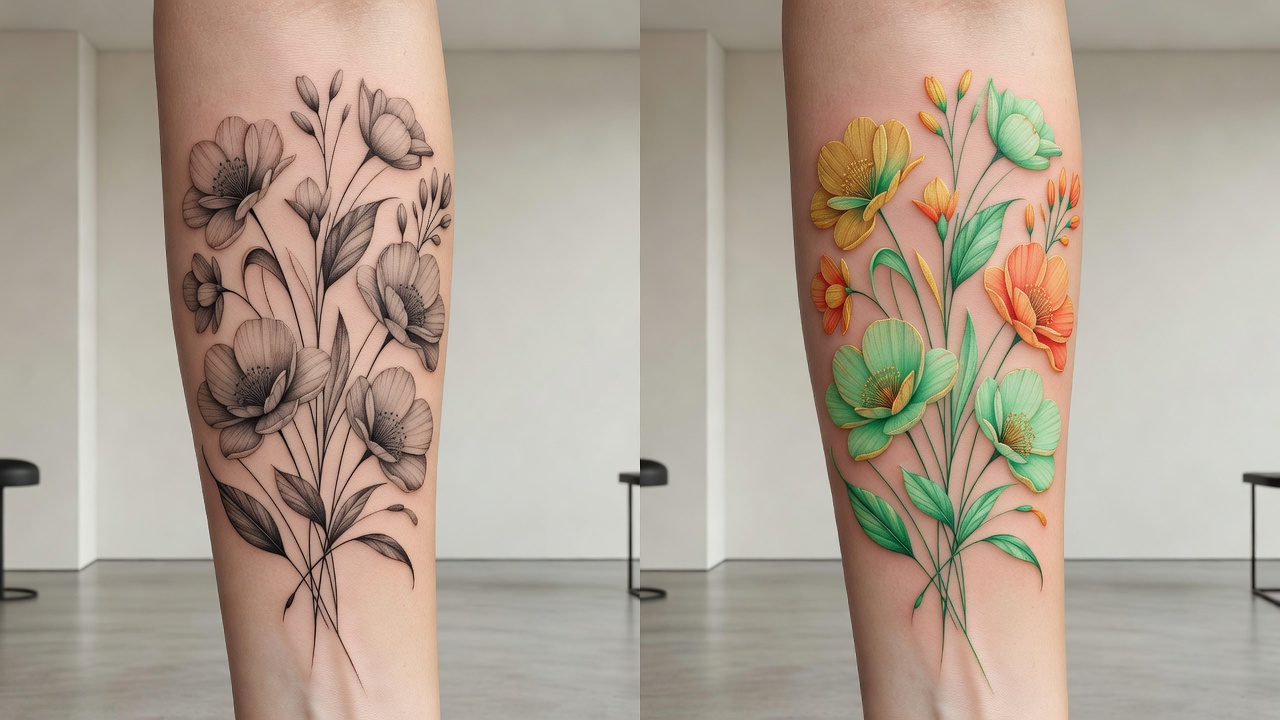
Color and Shading
Swapping a palette — muted grayscale to saturated color, or a single accent color to a full spectrum — is one of the fastest ways to change a design's mood without touching its structure. Shading intensity is worth editing carefully: heavy shading reads as dramatic and dimensional but takes longer to tattoo and can look muddy at small sizes, while lighter shading keeps a design crisp on smaller placements.
Composition and Elements
If a design feels cluttered, editing lets you remove or simplify individual elements rather than regenerating the whole scene — dropping a background detail, thinning out a floral cluster, or straightening an off-balance layout. This is also where you combine pieces: generate lettering separately using an AI tattoo lettering generator and then edit it into position alongside imagery, so the two elements share the same visual weight.
Sizing for Placement
A design built for a full back piece will not simply shrink well onto a wrist — fine detail disappears at small sizes and can blur over time. Editing lets you rescale and simplify a design specifically for the body part you have in mind, then confirm it with an AR preview so you are judging the actual placement, not a flat image on a screen. Our guide to AI tattoo try-on covers that preview step in more depth.
A first generation shows you what is possible. Editing is where a design stops being generic and starts being yours.
Editing vs. Starting Over: When to Use Each
It is tempting to just hit regenerate every time a design is not quite right, but that is not always the fastest path. Knowing which approach to reach for saves real time.
- Regenerate from scratch when the whole concept feels wrong — the subject, the pose, or the overall idea does not match what you pictured. No amount of editing fixes a fundamentally different idea.
- Edit when the concept is right but the execution needs work — the style does not suit you, the color feels flat, one element is out of proportion, or the composition needs simplifying for a smaller placement.
- Combine both for complex pieces: generate two or three genuinely different concepts first, pick the strongest one, and then spend your editing time refining that single design rather than splitting attention across several drafts.
This is the same underlying idea behind modern generative AI tools broadly — generation gets you options quickly, but iterative refinement is what turns one of those options into a finished piece of work.
Common AI Tattoo Editing Mistakes to Avoid
A few habits separate a design that comes together quickly from one that goes in circles for an hour.
- Changing too much at once. Editing style, color, and composition in the same pass makes it impossible to tell which change actually helped — or hurt — the result.
- Losing track of earlier versions. Keep your favorite drafts visible or saved so you can go back if an edit takes the design in the wrong direction.
- Ignoring how detail scales. A design edited to look great full-screen can turn to mud at the actual size it will be tattooed. Always sanity-check detail level against the real placement.
- Skipping the preview step. A design that looks right in isolation can look completely different curved around a forearm or shoulder. Preview before you consider anything final.
- Editing after you have stopped liking the core idea. If you find yourself endlessly tweaking a design you are not actually excited about, that is a sign to regenerate a new concept, not keep editing the old one.
Why Use INK's AI Tattoo Editor
INK treats editing as a core part of the design process, not an afterthought. After you generate a first design, you can adjust style, color, shading intensity, and composition in the same place, compare versions side by side, and combine elements like lettering with imagery. When a design is close, AR try-on shows you exactly how it will sit on your actual body before you commit to anything. If you want a broader look at what AI tattoo tools can do, our roundup of the best AI tattoo generator apps covers how editing fits into the wider design workflow.
All of this — generating, editing, previewing — is free to explore. You only pay if you want a high-resolution, stencil-ready export to hand to your artist, so there is no cost to refining a design until it is genuinely right.
The Final Word
A first AI-generated design is a draft, not a decision. The real value of an AI tattoo editor is that it lets you get specific — fix the one thing that is off, keep everything that is already working, and repeat until the design in front of you is one you would actually want on your skin for the rest of your life. Generate broadly, then edit deliberately.
Refine Your Tattoo Design Free in INK
Generate a design, then edit the style, color, linework and size until it's right — and preview it on your body before you ink. No sign-up needed.
Try INK Free →Create Your Perfect Tattoo Design
Use AI to generate unique tattoo designs and preview them on your body before committing to ink.
Start Designing for FreeWritten by
INK Team